Tuesday, December 4, 2012

How I'm wrapping this year...

Hello Crafty Friends!

When I first saw these stamp sets from The {Stamps} of Life I could not wait to get my hands on them.  All I could think about was how I wanted to use them for my Christmas present wrapping.  I already had planned to use kraft paper and twine, but then I saw these and thought I'm going to make them all look like they got mailed.  :)

The GREAT thing about these stamps is that you are not limited to just the choices in the two sets.  I used little stamps from holiday sets as well to make them more festive.  :)

I love being a Stamp Club Member at The {Stamps} of Life.

Stamp sets used:
postage2stamp
postmarks2stamp
holly4Christmas
Christmas2build
postage dies


Here is one of the gifts I wrapped.  I learned the hard way (LOL) to crease the edges on the wrapping paper  before wrapping and then lay flat to stamp and add stamps so they get centered properly.  Stamping on a shirt box after it is wrapped = messy stamps.  hehe.

That's it for now.  I'll be back soon!

Monday, December 3, 2012

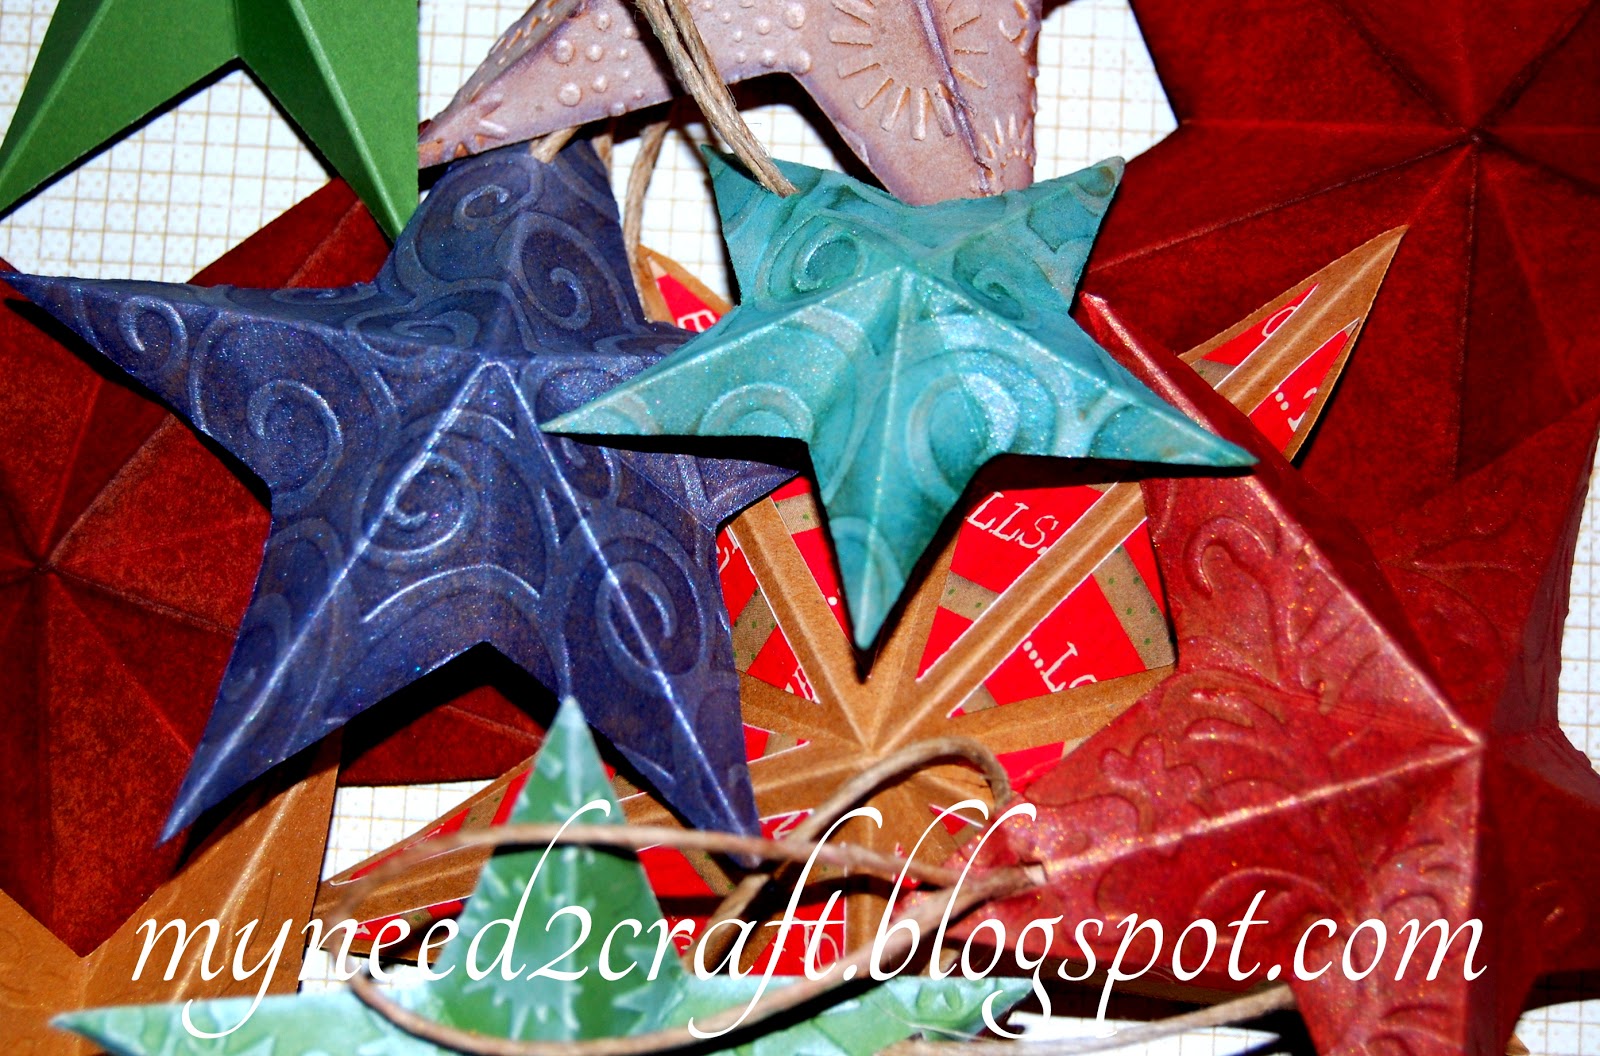
More Puffy Faux Tin Stars...


Hello Crafty Friends!!!

OK, as promised I am back with some more puffy star faux tin ornaments.  Beware these were sooo addicting and the possibilities are endless.  (I would love to see your ideas if you choose to make some, attach your link to a comment and I will come check it out.)

Here we go:

Place pre-scored star in embossing folder and run through
your embossing machine.
Pre-scored will make it easier to fold later.

You might remember in the tutorial (previous post), I
mentioned about sizing your star to fit
an embossing folder.
Yeah, this is why.  LOL!
That's OK.  We will use that end
to punch our hanging hole.
Ta Daaa!!! LOL!

Here are the color inks I used.
You can use whatever you want for the effect
you are looking for.  :)
Sky's the limit!

I inked my edges first.

Then I sponged the Moonlight white lightly over the
top.
(Why it looks so white in the picture I have no idea.  Must be
the flash.  It isn't this bright.)  :)

Crease the stars peaks and valleys.  

I inked the peaks with my brown dauber.
Again, it isn't this dark.  It is really light as you will see
in the finished piece.  

Voila!!!
(See I told you wasn't that dark.)  ;)

Here is one I did with a dark blue ink.
I inked the blue previous to embossing using the
pad to paper method.
Let dry a bit before running through your embossing
folder, or it will get messy.
After embossing go over entire star lightly with silver ink on a dauber.  


Well, I hope you enjoyed all my little lovely stars.  I am sure there will be more to come.  My mom gave me her old ginormous fake Christmas tree (9 feet) and I will need more ornaments to fill that sucker up.  More about that later after I am done decorating.  LOL!

Talk to you soon!!!

Sunday, December 2, 2012

Faux Tin Puffy Star Ornament...

Hello Crafty Friends!!

Here is my first (maybe second or third) attempt at a tutorial (pics only) on how I made these rustic tin looking puffy stars with paper.  I have seen these all over (in the tin material) and they can get pretty pricey.


The other night I saw a wonderful pin on Pinterest and couldn't get it out of my head.  So I headed on over to the blog Thrive.  WOW!!!  She made some fabulous stars out of non other than baking tins!!!! Well I of course immediately became a follower, you should too!  (I will be stalking checking out more of her projects soon.  (You know, after the Christmas holiday decorating and crafting.)  hehe.

My idea was to use my Krafty paper to get that same effect of tin, so I proceeded to play with my inks to get the desired color I was looking for.  So here is what I came up with (also be aware that I didn't want to cut out all the stars by hand, so I used my handy dandy cutting machine and SCAL2) ;)

Please excuse my poor attempt at directions, lol.  I circled in red to help find the icons in SCAL2.  ( I am sure you are all savvy enough to figure this on your own, but just in case...)  :)

Here we go:

Step 1:
Open your SCAL2
(or whatever source you have for your cutting machine,
I am sure there is a star.)

Step 2:
Select the star icon.
Step 3:
Select Keep Proportions and resize to your desired
size.  Here I selected a 5" width star.
(You might want to adjust this size if you plan
to run through an embossing
folder.)
More on that later.
Step 4:
Right click on image and select copy.
(You can also Ctl C)
Step 5:
Ctl V or Paste
Then Cut
(You can add as many stars the will fit on the paper size you have.
I was using 8 1/2 x 11)

Look at all that wasted paper!! :)
JK, it won't go to waste on my watch.
Line up your star on your score tool as I have
(I always run a sharpie line in the groove
so it is easier for me to see the points.

Score all 5 points.

At this point you can ink and/or emboss
whatever you would like to get the desired effect
you are looking for.
(I have lots of samples to share in my next posting)
Oh yeah, I also punched my hole for my twine hook.
For the faux tin look I was going for I used only these
2 colors.
(you can use any brown or red you want)

Using the pad to paper technique, I applied my ink right to the
paper using the whole ink pad.
(It takes a little longer to dry, so give it a minute or two to dry
in between as to not contaminate your other color.)
Next I applied the red using the same technique above.
(Remember this makes it more wet and takes a bit to dry)
If you get fingerprints use a dobber to blend and
smooth them out.
Using my brown dauber I inked all the edges. 
Once it all dried I folded the peaks and valleys.  
I went back over the peaks with the brown dauber to
give it an aged appearance.
(Note to self: Next time do the valleys as well, oops)
Add your twine from front to back.
Tie a half over knot and trim the edges. 

And Voila!!!
Ready to hang on the tree, or attach to a gift for an
added little bonus gift.  :)


There you have it!  What do you think?  I hope you enjoyed my little attempt at a tutorial.  LOL!  I think I will have a glass of wine now.  HAHA!

Stay tuned for tomorrows post.  I will share with you some variations I made.  It was quite addicting since they were so easy to make.

Until then...


Saturday, December 1, 2012

Glitter Ornaments...

Hellooo Crafty Friends!!!!


I am sure you all have already seen these lovely ornaments where you glitter them on the inside using Pledge with Future floor shine and MS fine glitter.  I made some of these last year but didn't buy enough ornaments and they were completely sold out when I went to get more.  (Darn!)  This year Michael's had tons of them in all different shapes and sizes.

They are super easy to make.

Using a funnel for the floor polish and paper type funnel for the glitter (I just rolled up a piece of computer copy paper).

1.  Take off metal piece off of the top of ornament.
2.  Pour a little bit of floor polish into the ornament.
3.  Swirl around to coat inside completely while pouring back into bottle.  (Use the plastic funnel.)
4.  Using paper cone (rolled up copy paper) pour glitter into ornament.
5.  Swirl it around and cover the whole inside of the ornament and then pour excess glitter out onto another piece of copy paper.  (Pour this extra back into glitter container.
6.  Put the top back on and then you can decorate it however you wish ie. add ribbon, write on it, add vinyl decoration etc.


I just loved these fun shapes.  The flat round one would be perfect (and easy) to draw on or add vinyl art.

Now to get back to that tutorial I mentioned in my last post.  :)  I keep finding things I haven't shared yet.  LOL!

Until next time!

Friday, November 30, 2012

Purple flower birthday card...

Hello Crafty Friends!

Well I am going to try to put together some blog posts tonight.  Lot's to share with you all.  :)  So I will start with one project at a time.  I have done so many I am going to have to go back over the blog and see what I have already shared.  LOL!

I made this little lovely card for one of our really good friend Scotia.  :)

The leaves stamp in the background
is a
The {Stamps} of Life stamp set.

I stamped, colored and then outlined the whole stamp image with gel pens to give it some pop.  Tried to get a good picture of it.  You can probably see it better if you enlarge the pic.  :)

I am working on a picture tutorial for a fun little (super easy) star ornament that looks like tin.  This might take me awhile.  LOL!  I took lot's and lot's of pics.  They turned out soooo cuuuttteee and I am excited to share them with you.

Stay tuned!!

Thursday, November 29, 2012

A Christmas Candy Jar...

Hello Crafty Friends!

Just wanted to pop in and share a pic of another gum machine candy jar.  I made this one for Christmas.  I think I have all the holidays done now.  Well except for my birthday...hmmmm?!?!  LOL

Now I just need some candy to go in it...:)
Until next time!

Sunday, November 25, 2012

Now for Christmas!

Hello My Crafty Friends!!

It's been a while hasn't it? I have been neglecting my blog for way to long. Hopefully now that the Thanksgiving holiday is all wrapped up I will get back into a normal routine of sorts. ;)

I have quite a lot of blogs to catch up on. I feel like my magazines (blogs I follow) are piling up.

So with that being said, I have a few projects that I did work on these last few weeks so I need to download the pics, edit them and get to sharing.

I hope you enjoyed your Thanksgiving holiday. Now on to Christmas!!

Hugs,
Terri

UNDER CONSTRUCTION!

UNDER CONSTRUCTION! MyNeed2Craft by Terri Deavers is currently undergoing some changes!  Stay tuned!